How to use SSH and SCP on Windows 10 to upload or download files
So, there are numerous tool that can help you login to your server. My personal preference over the past few years have been Bitvise SSH client and WinSCP. I still use them because they are very straight forward and highly configurable. But there are times where you just want to run a command or upload a single file without going through all the trouble of logging in and managing Private Keys.
Follow the below steps to configure SSH and SCP on your system.
Note: Below steps are also applicable with Windows 11.
The first thing you need to do is Enable OpenSSH in Windows optional features. Skip this step if it is already enabled. Search and open 'optional feature' from start menu and then click on 'Add a feature' and search for 'OpenSSH Client' and click on install.
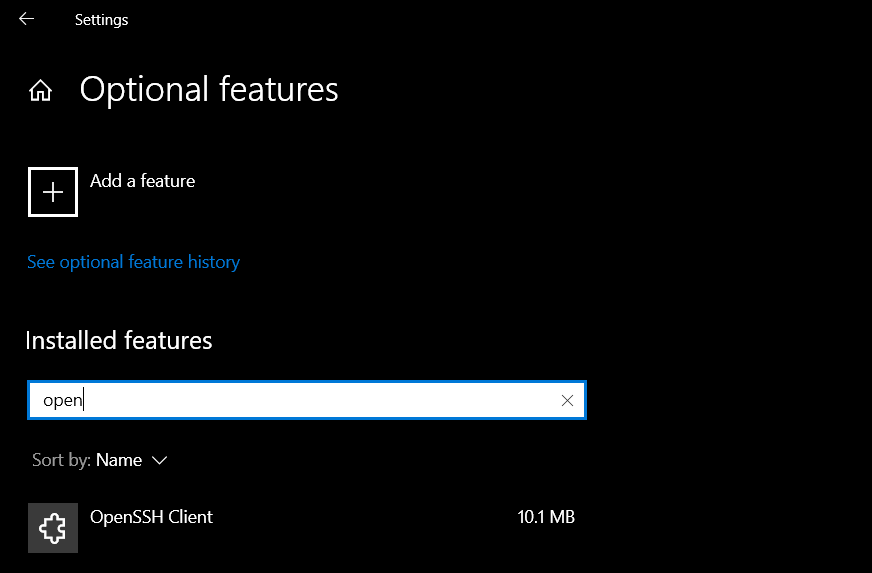
Enable OpenSSH Client on Windows 10
Now that you've enabled OpenSSH run ssh in windows terminal to verify it has been installed correctly.
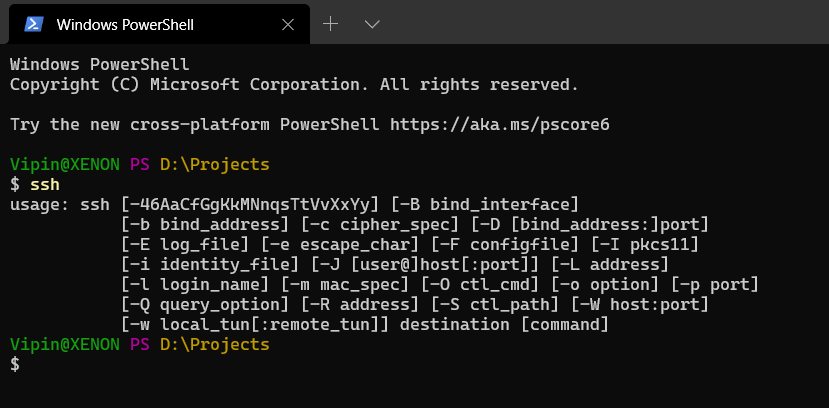
Verifying ssh installation
Now you can connect to remote server using ssh commands that you are used to in Linux systems.
ssh ubuntu@12.34.56.78

# you can also use private key file to login
ssh ubuntu@12.34.56.78 -i "C:\location\of\private\key"
TBH, every time we want to log in, we have to enter the host name or location of private key or password. And now suddenly things don't seem direct and easy.
Fret not.
You can save your profiles inside a config file located in C:\Users\username\.ssh\config. Edit the code structure given below and save it in config file. Give it a friendly name, I've used 'wt' in the example, you will use this Host to login later. Update the HostName, User IdentityFile, and Port. You can use as many profiles as you want. Just put another profile in new line and make sure it is properly indented.
Host wt
HostName 10.21.43.231
User ubuntu
IdentityFile "D:\Users\Profiles\SSH Key\key"
IdentitiesOnly yes
Port 22
ServerAliveInterval 60
Now just enter ssh wt to login automatically.
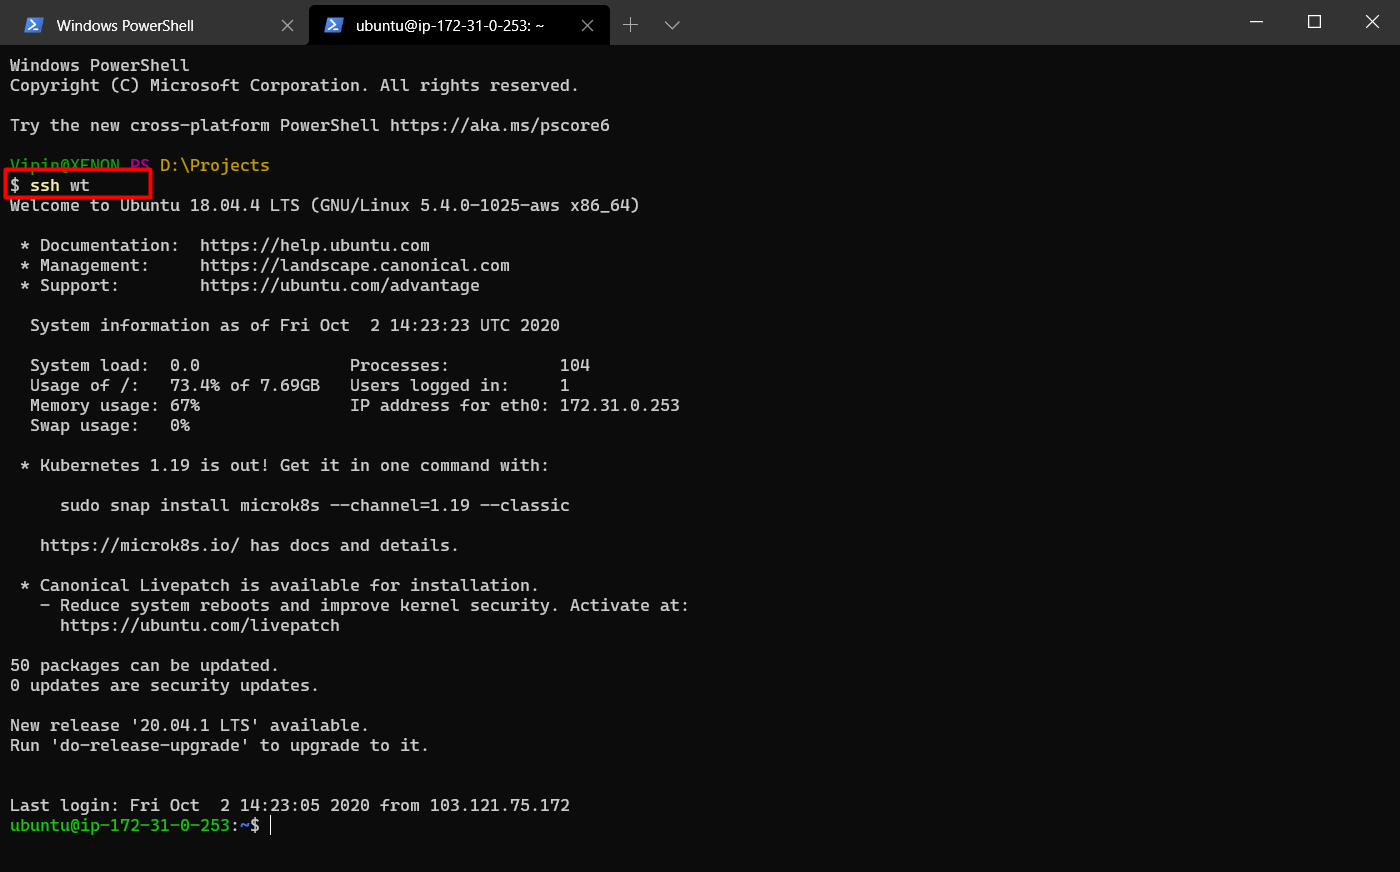
SSH login to serve
If you are getting "Warning: Unprotected Private Key File!" warning then make sure you have set the right permission for private key file.
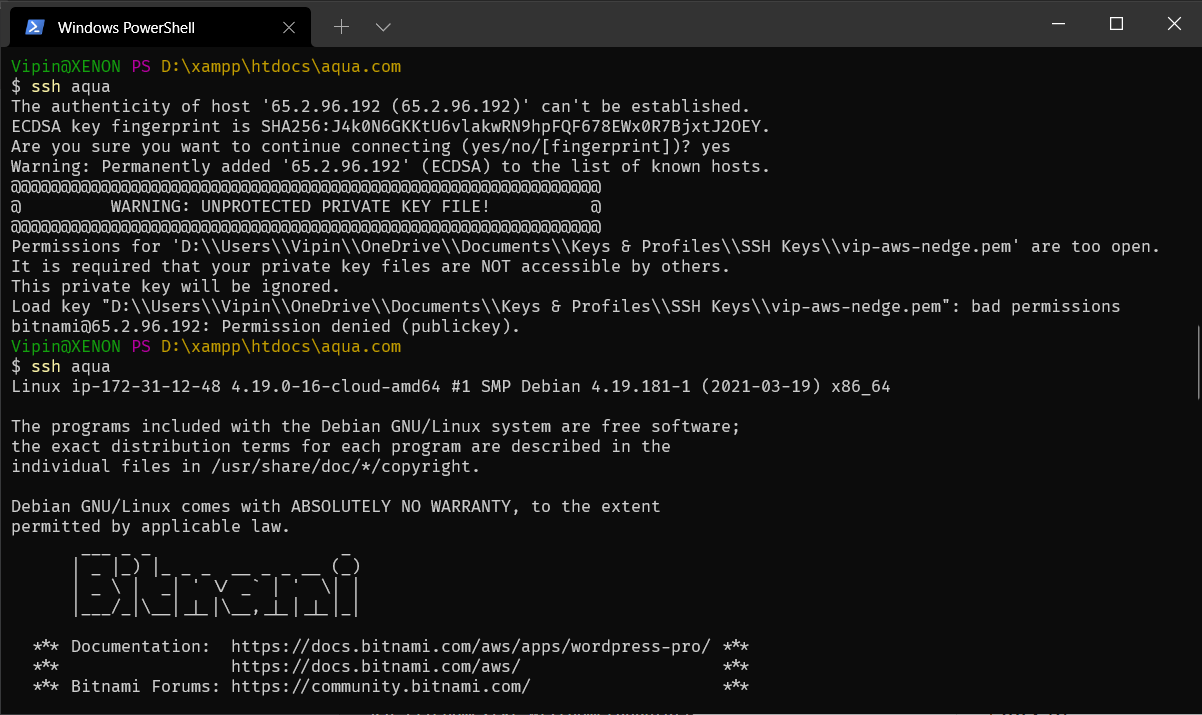
Warning: Unprotected Private Key File!
Open the advanced file setting in security tab and click on 'Disable inheritance' button. Now click on 'Add' button to add a user for file permission.
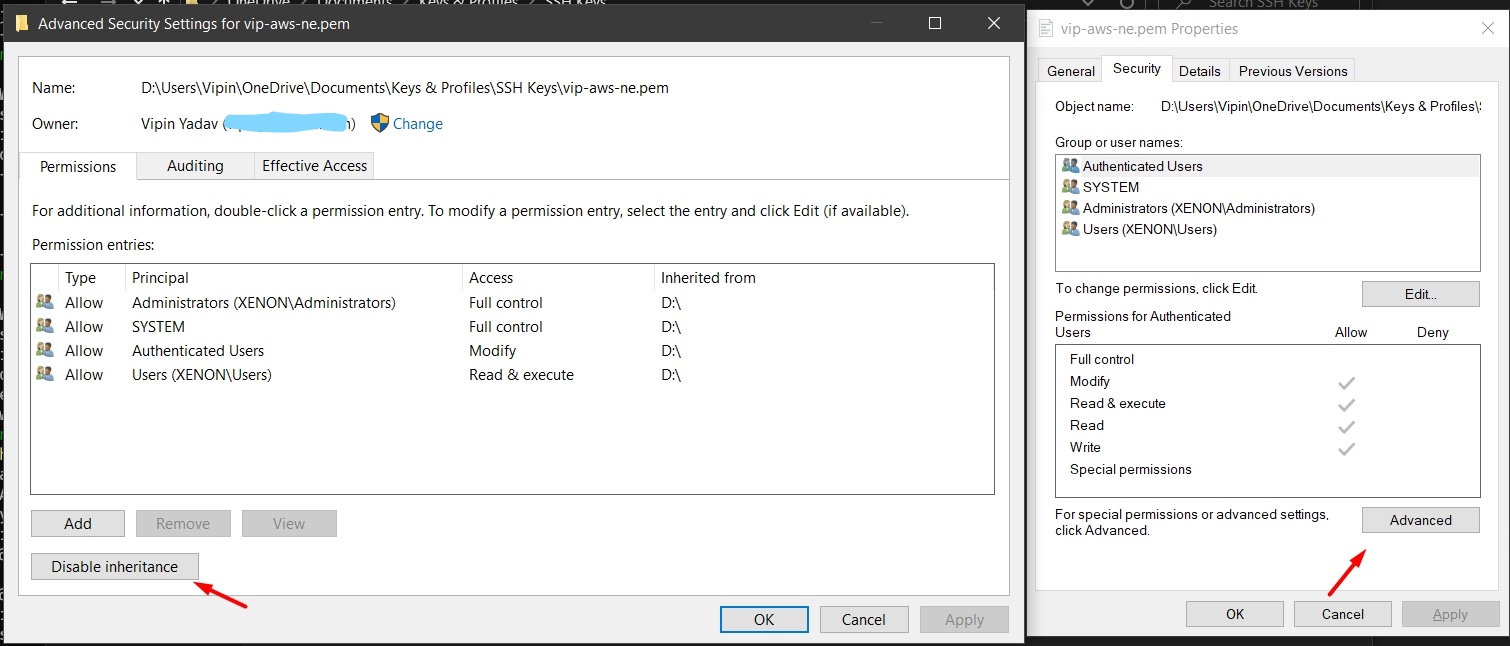
Disable inheritance in file security setting
Click on 'Select a principal' link and type your username or linked account email.
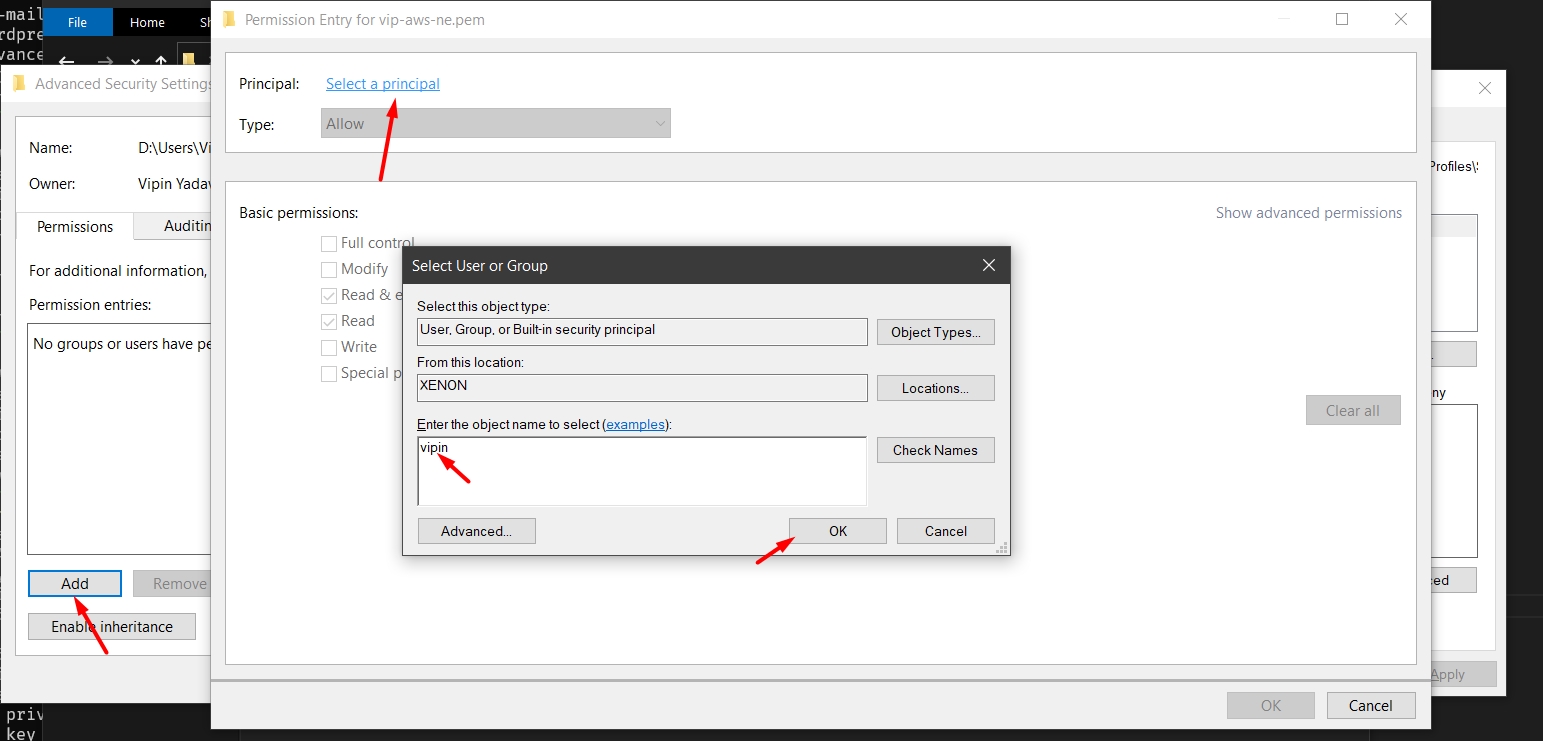
Add user permission to private key file
Save all the settings and try again by running ssh wt in terminal.
So far everything working great? Well, we are not done yet. Let's take it a step up further.
You can also use SCP commands to upload or download files to and from remote server.
# upload single file to remote server
scp filename.txt wt:/home/ubuntu/filename.txt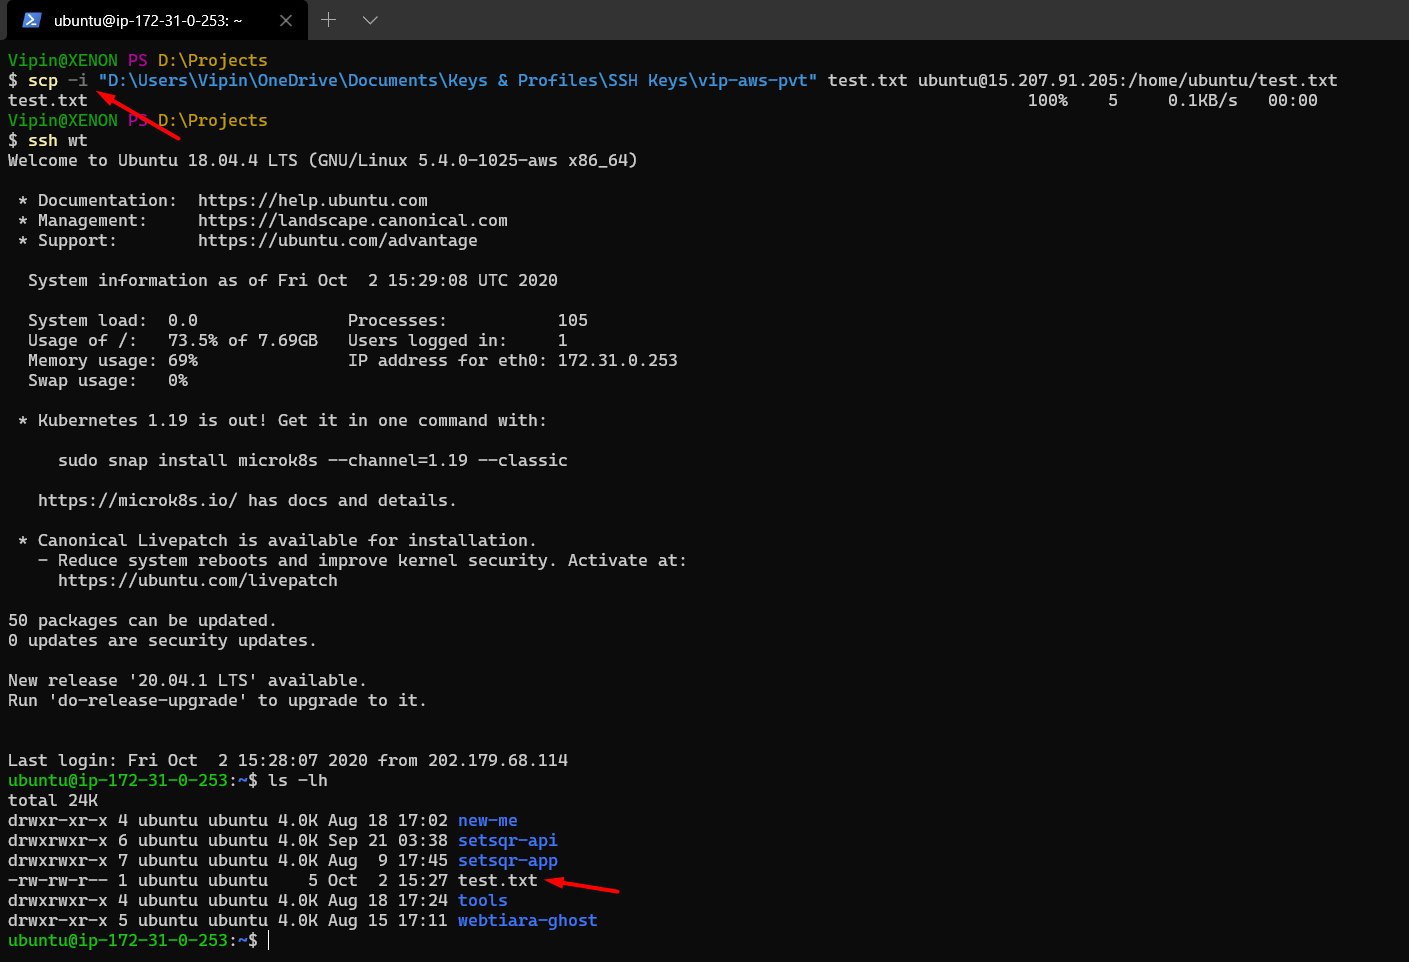
SCP file upload
# download single file from remote server
scp wt:/home/ubuntu/filename.txt test.txt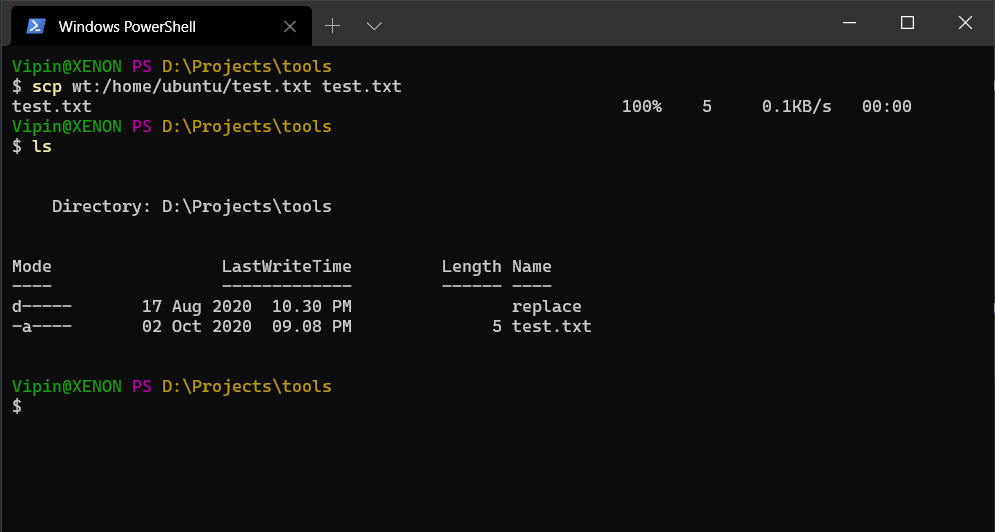
SCP file download
Similarly, you can use -r flag to recursively download files from the server.
scp -r wt:/remote/folder/path local/folder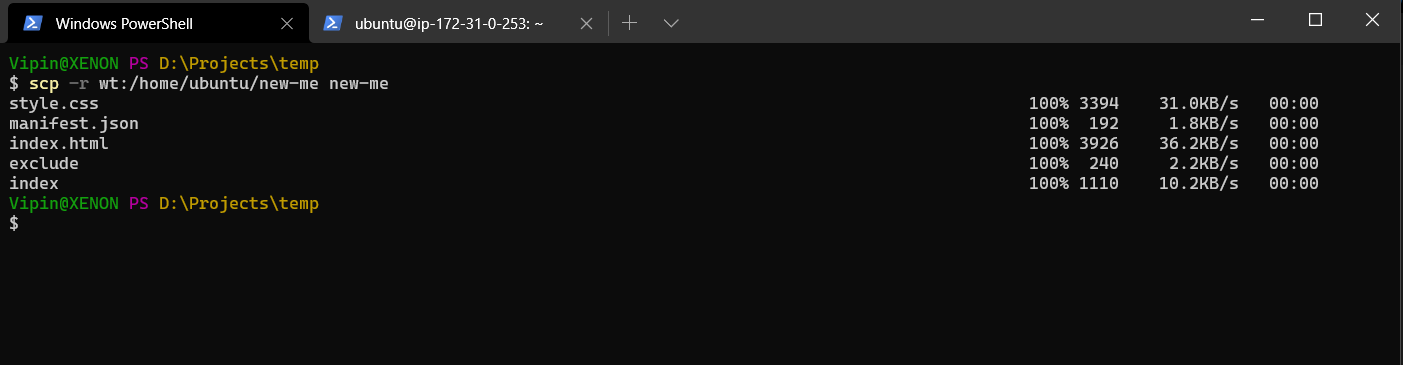
SCP download a folder
And to upload files to server use below command.
scp -r ./local/folder wt:/home/ubuntu/appPro-tip: You can add a npm script to package.json file to automatically upload the build folder to remote server. Just run npm run publish and all the files and folder will be uploaded.
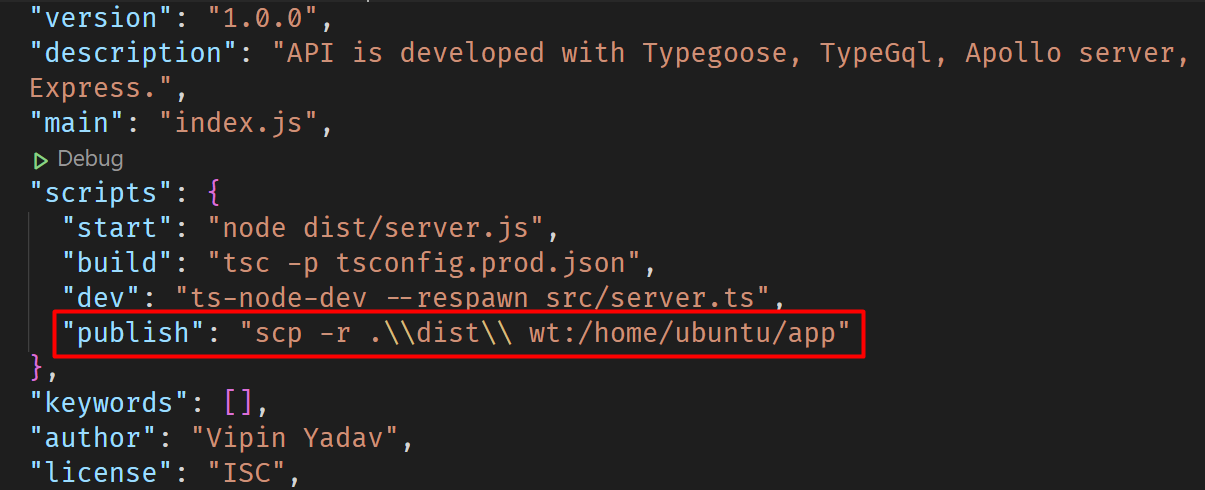
npm run publish
From here the sky is the limit. If you face any difficulties in setting up SSH or SCP then write to me on @vip_iny.